ResourceSpace manages workflows around Digital Assets (Images and Videos). The standard workflow is that any user (including StaticSync/ADRADrive) can add (also referred to as Ingest) Images or Videos, these will automatically be linked to the Country Office that the User is associated with, or in StaticSync’s case the first folder which should match a Country Office. This will notify all Administrator users for that Country Office that there are assets to review, any of these users will be able to change the assets status to “Approve” which will make the image visible to all users within that Country Office, they also have the ability to set the Country Office to include Global which will make the asset visible to all Country Offices.
The control and structure of setting up these Country Offices, User Groups (Admin and General Users) and filters (Department and/or Global) are key to ensuring the ADRA Cloud services maintain their integrity.
Typically if a user from an ADRA office requests changes and exists in the Country Office Admin group they are authorised; if not they need to CC someone who is or include the Country Director for that Country Office.
External Links
NextCloud: Every user should have a ResourceSpace folder which is linked to the StaticSync\Country folder.
LogAlto: The idea is that one tag should be the same as the Project Code set in LogAlto.
WordPress: There is a plugin that was developed for ResourceSpace that allows users to search ResourceSpace’s images (based on a generic user) and copy assets into WordPress’ media library.
Filters: Country and Country|Global
Click on the menu option at the top right (Hamburger), select the System option, and then Filters
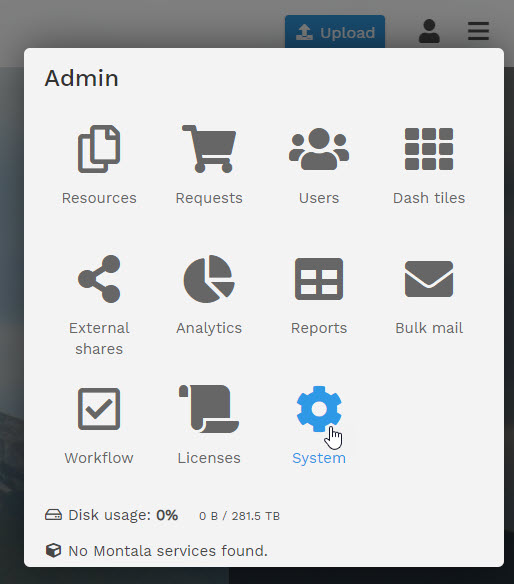
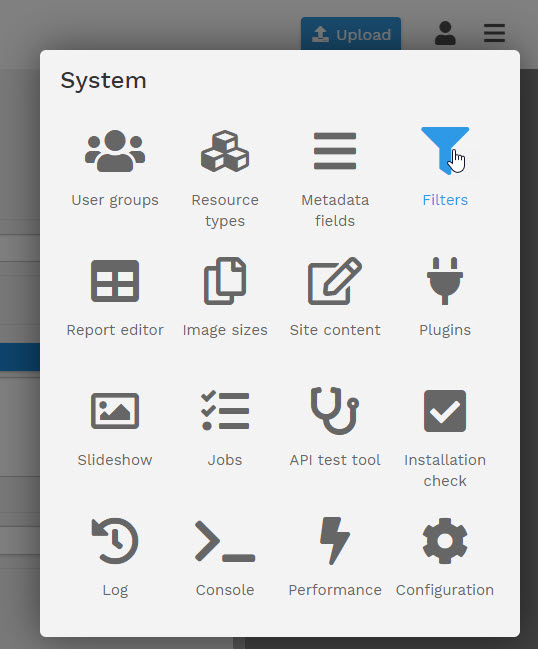
Menu → System Menu → System → Filters
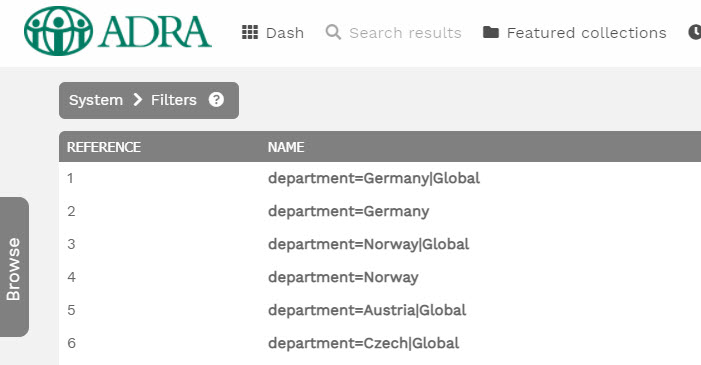
You will then be able to see the list of filters, and will be able to check if the department (country office) exists or not. If not then add two default groups, one for only viewing assets marked for that department (country office), and a second for viewing assets marked for that department (country office) and assets marked as global.
The default entries should look like this:
- Create filter with name: department=<country>
- Create filter with name: department=<country>|Global
Resource Types: Managing Departments (Country Offices)
The next step is to check if the department (country office) has already been added; this is done within resource types.
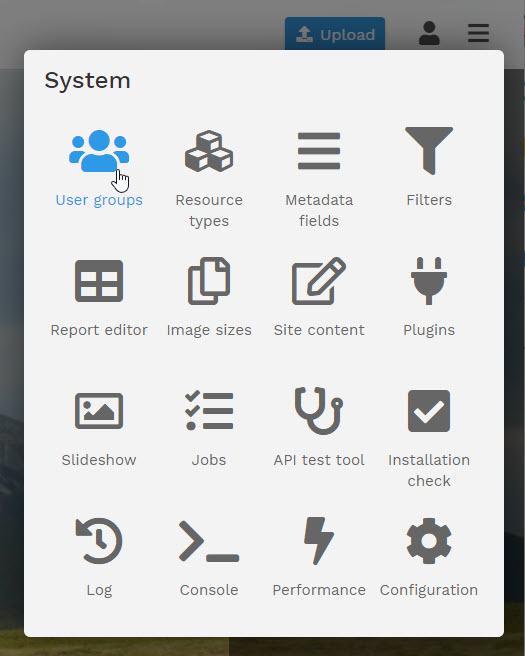
Click on the menu option at the top right (Hamburger), select the System option, Resource types.

Click the MetaData fields link to the right of the Global Resource type.

Edit the Department Metadata element.
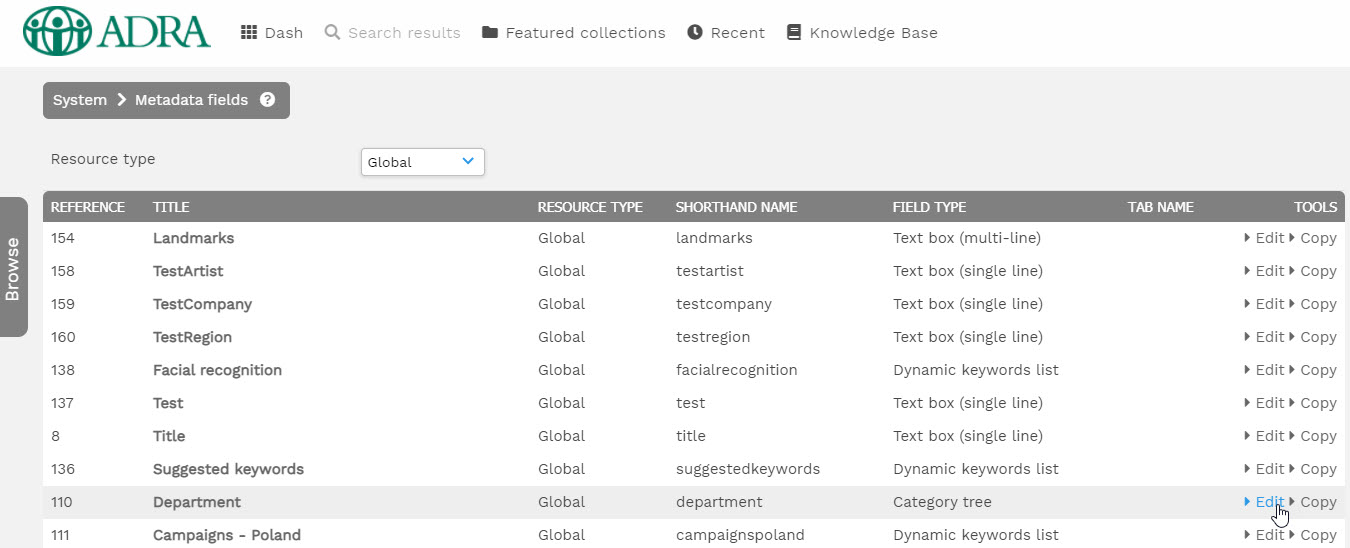
The Department Metadata type is a tree structure of options, so click on the Manage options link.
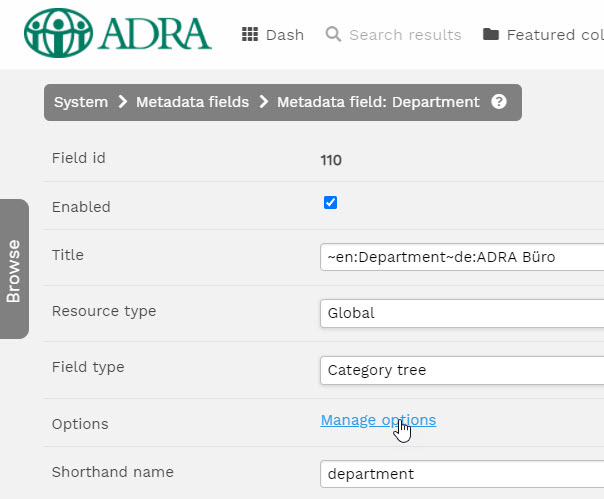
Check to see if the Department (Country office) already exists within the grouping, and if not create it by adding it in the last entry field and by selecting the Parent which would be the regional group.

User Groups: General and Administrator Users
Click on the menu option at the top right (Hamburger), select the System option, User groups
Check to see if the user group already exists, if not create them by completing the “Create user group called…” at the bottom of the list and clicking the Create button. The naming standard is 2 characters for the region, the country and then “General User” which is used for most users to manage digital assets within their Department (Country Office) and “Admin” who are the users that can approved assets to be visible to all Users of the same Department (Country Office) and optionally add the Global tag which would make a specific asset visible to all Departments (Country Offices).
You can click on the Users menu option on the right to see all the associated users, or the Edit link to see the groups settings; at the bottom of the page you can create new ones.
If you can’t find the Department Filter or the Resource defaults make sure you have completed the first to steps above.

If the user groups don’t exist you can create the default two groups with the following settings:
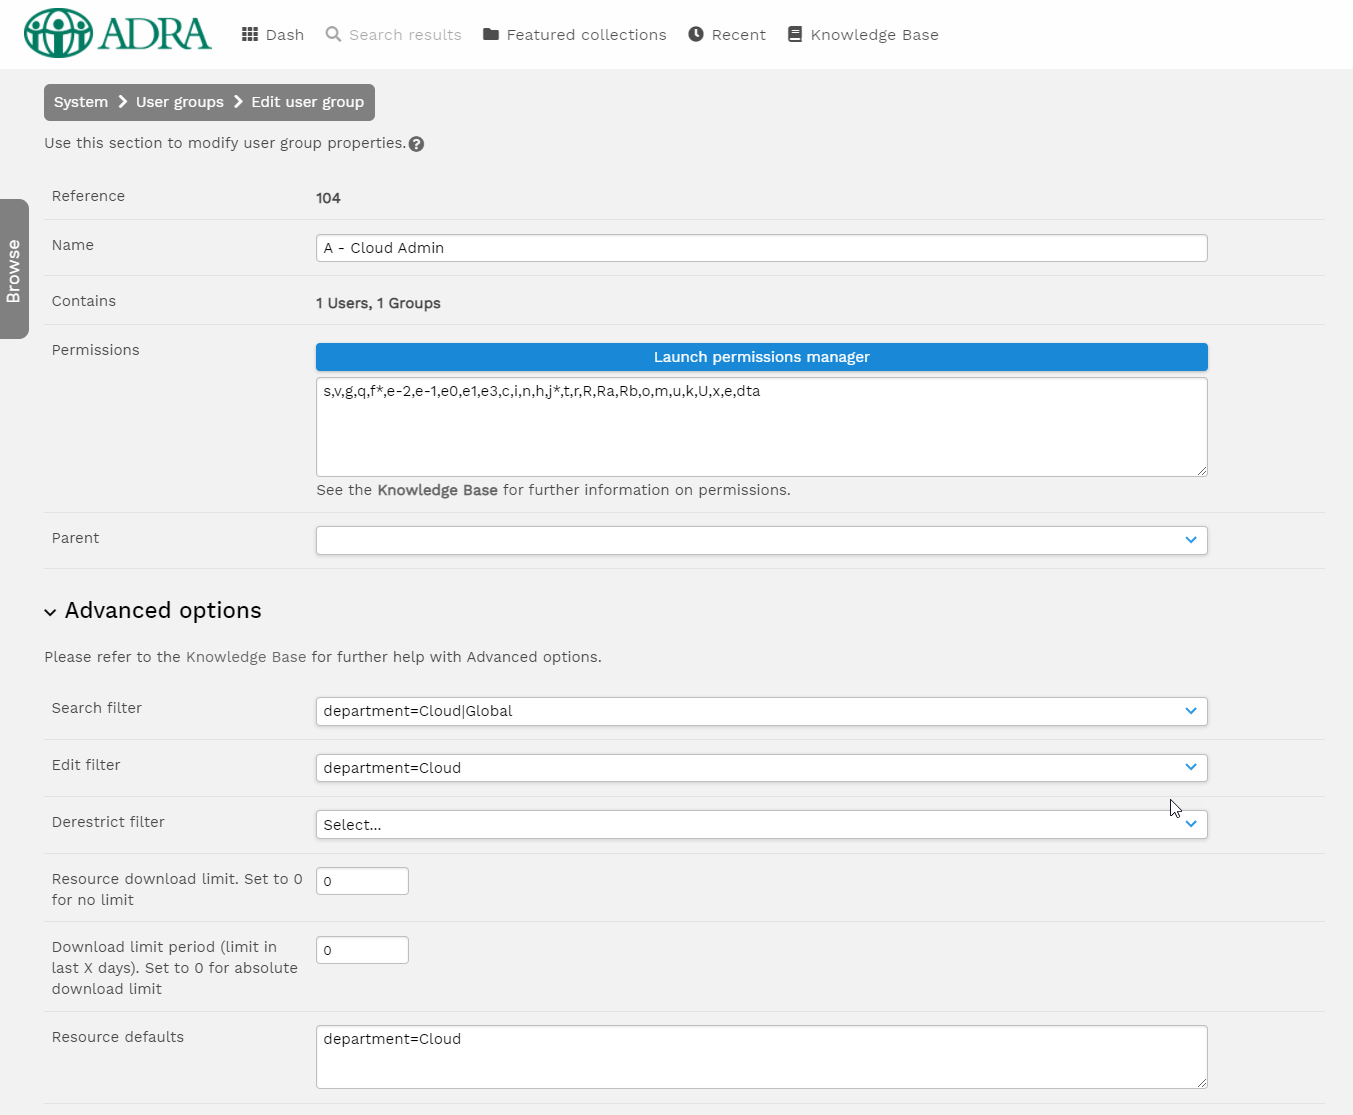
Admin:
System –> User Groups –> Add
Name: <2 Digit Regional Code> – <Country> Admin
Permissions: s,v,g,q,f*,e-2,e-1,e0,e1,e3,c,i,n,h,j*,t,r,R,Ra,Rb,o,m,u,k,U,x,e,dta
Search filter: department=<Country>|Global
Edit filter: department=<country>
Resource Defaults: department=<country>
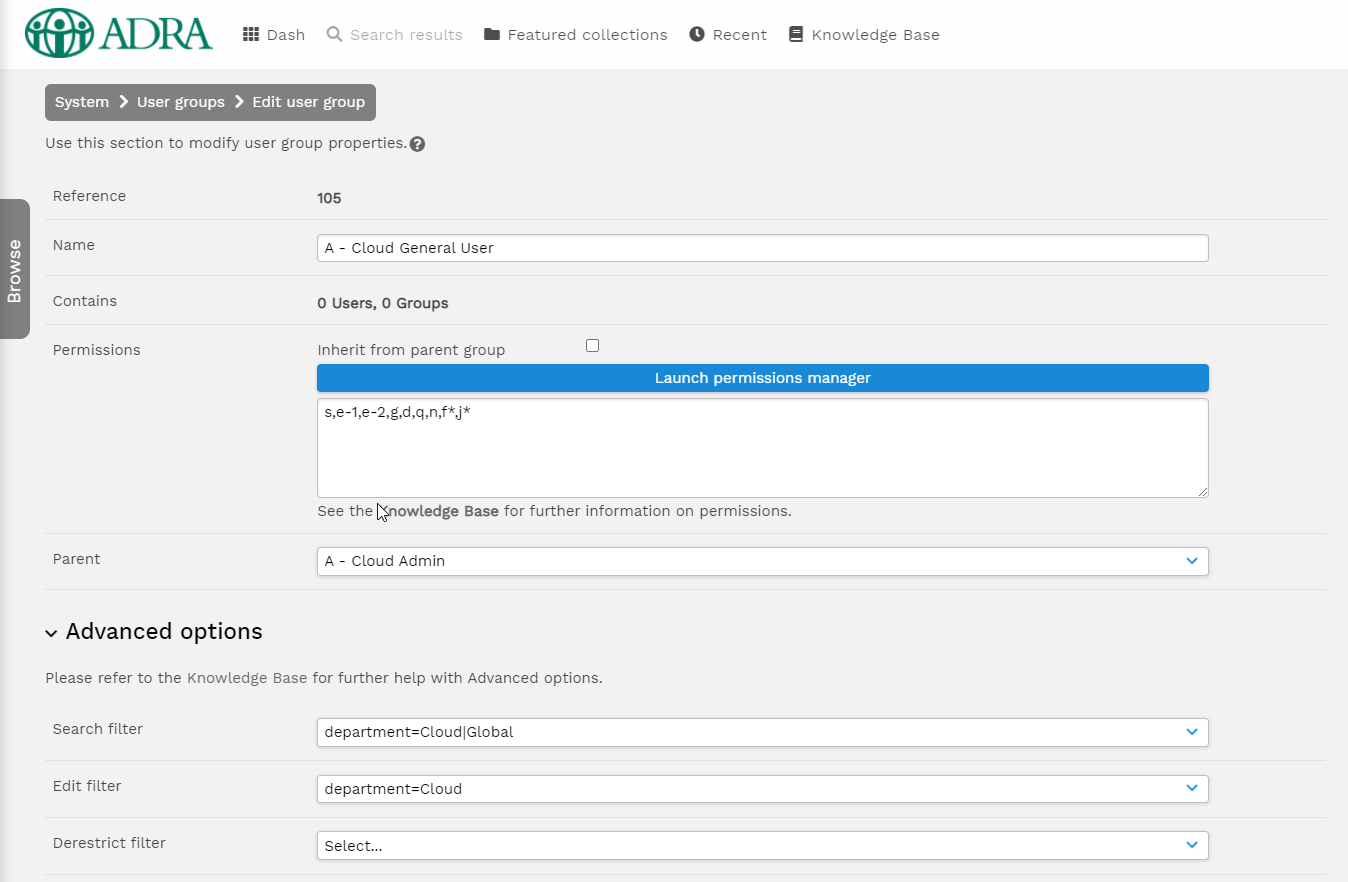
General User:
System –> User Groups –> Add
Name: <2 Digit Regional Code> – <Country> General User
Permissions: s,e-1,e-2,g,d,q,n,f*,j*
Parent: <2 Digit Regional Code> – <Country> Admin
Search filter: department=<country>|Global
Resource defaults: department=<country>
Users: General and Administrator Users
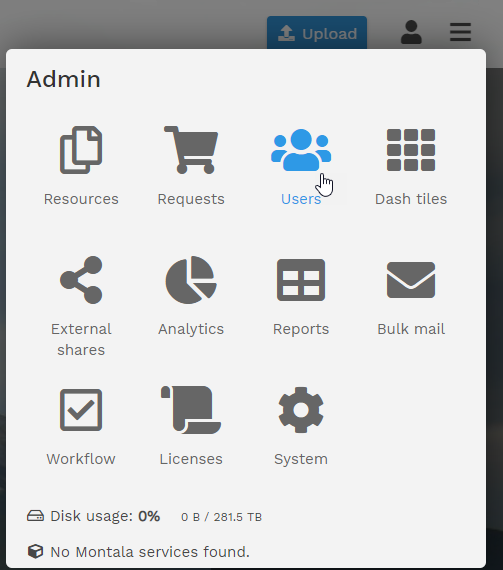
Click on the menu option at the top right (Hamburger), select the Users option
Check to see that the user doesn’t already exist, if it doesn’t you can create a new user below the list of users by completing the “Create user with username…” field and clicking the Create button. The naming standard is <firstname>.<lastname>.

Make sure you set the “Group” to the relevant User Group; if the relevant one doesn’t exist go set up the User Groups, Departments and Filters as needed.