Here is a Video tutorial on how to get Set Up on HumHub, join spaces and edit your profile and notification settings.
Below is also a detailed 10 Step Guide with screenshots of the full process.
Step One: Visit HumHub to Sign Up
Go to HumHub.ADRA.Cloud to Sign Up. There is also a quick link through the ADRA Source website in the top menu called HumHub
Note: HumHub.ADRA.Cloud is hosted by ADRA. DO NOT go to HumHub.com or any other link to join because this is not affiliated with ADRA’s Humhub.
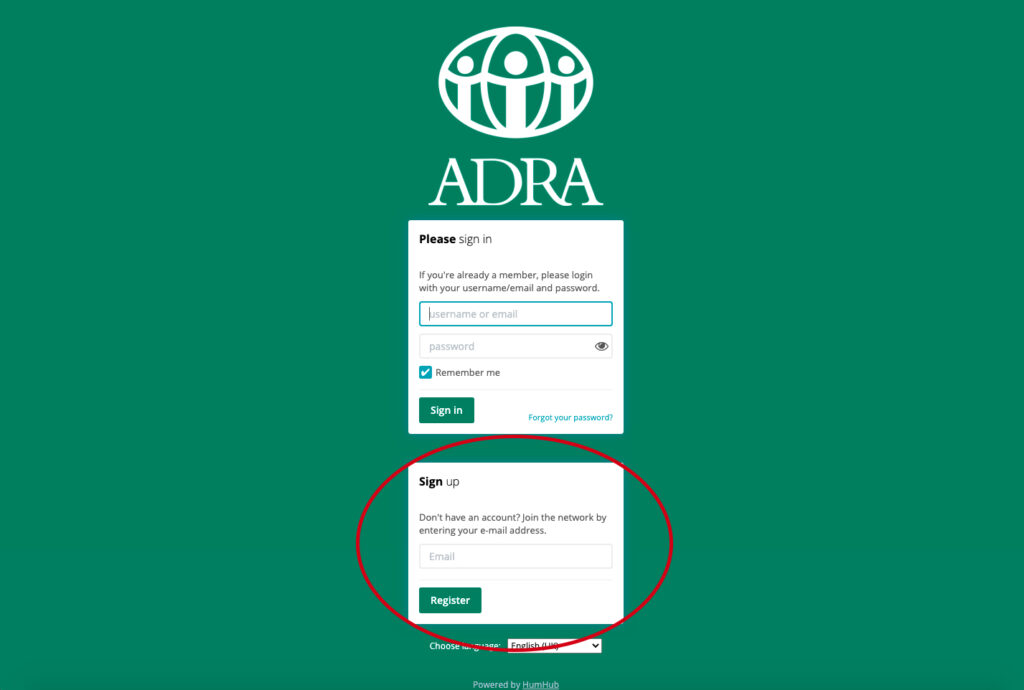
Step Two: Registering
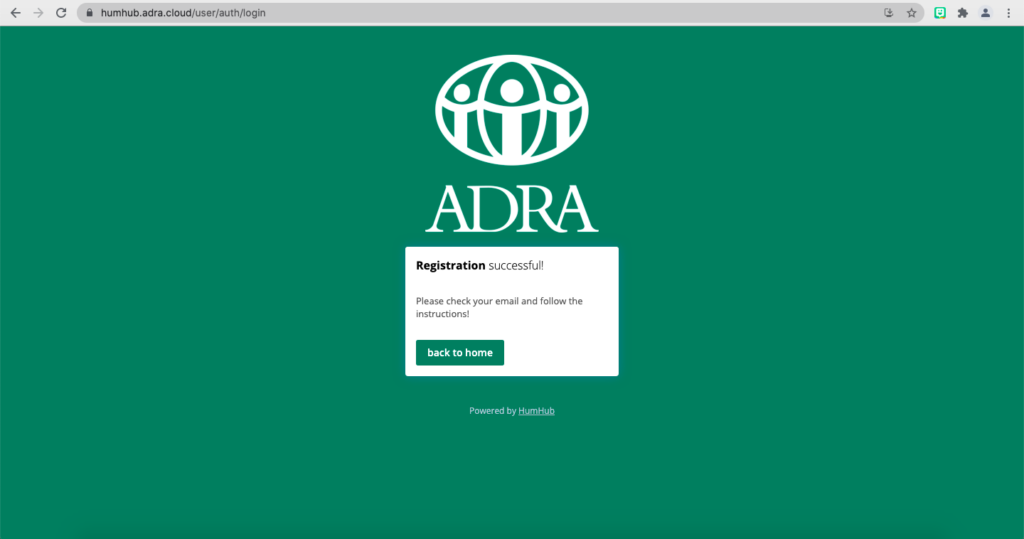
Once you have entered your email (use your ADRA email for quick approval) and clicked the ‘Register’ button, you will be taken to another screen telling you you have successfully registered.
Go to your email account and check the email from HumHub – it will look like this. Click the ‘Sign up’ button to proceed with your registration.

Step Three: Account Registration
You will then be taken to this screen. Your username is typically your first and last name in lower case separated by a full stop, for example: john.doe Once you have filled in the Account registration form, click ‘Create Account’.

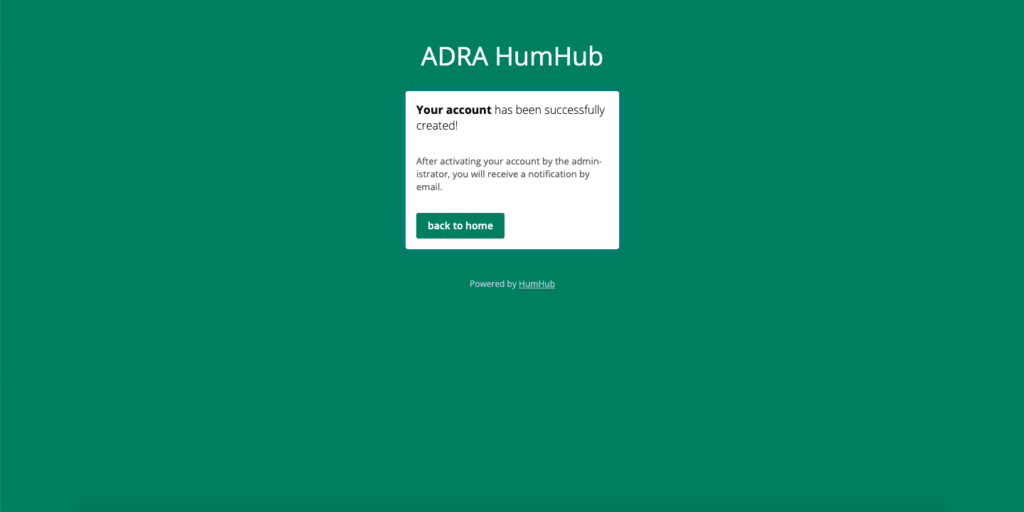
You will then be taken to another screen telling you your account has been successfully created. An ADRA HumHub Administrator will then review your details and approve your registration if you have been verified as a current ADRA employee.
Note: The approval process typically takes less than 24 hours, but may take time if further verification is required – particularly if you are using a gmail or other email address.
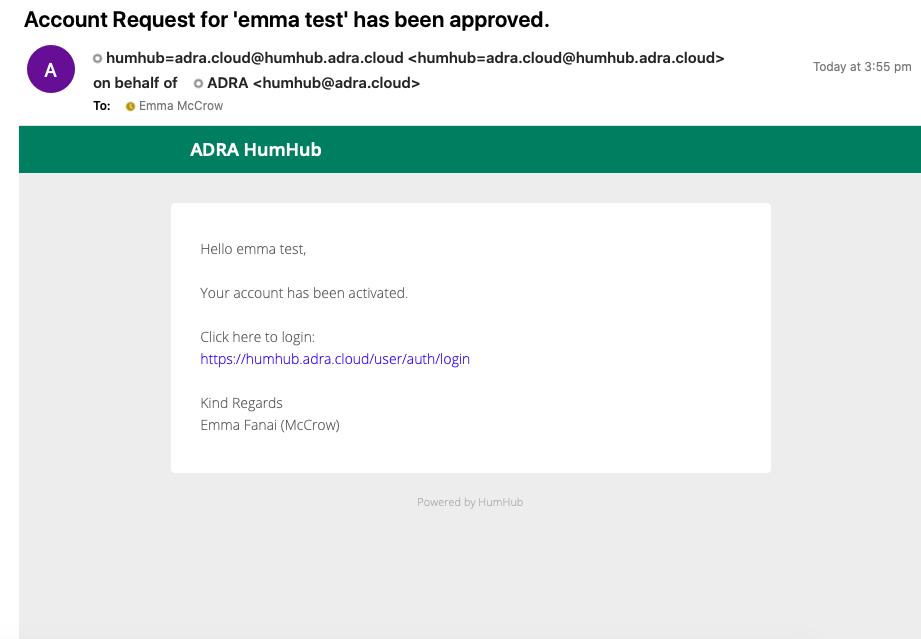
Step Four: Approval
If you have been approved by an ADRA HumHub administrator, you will receive an email like this outlining that your account has been activated. Simply click on the link to sign into HumHub with your username and password. You now have access to ADRA’s HumHub.
Note: If you have not been approved because it is found that you are not a current ADRA employee, you will receive a similar email outlining that your registration has been rejected.
Step Five: Getting Started
Once you have logged into HumHub, you will be taken to the ‘Dashboard’ screen. From here you can view the tutorials in the top right hand menu of the dashboard to get better acquainted with the layout.
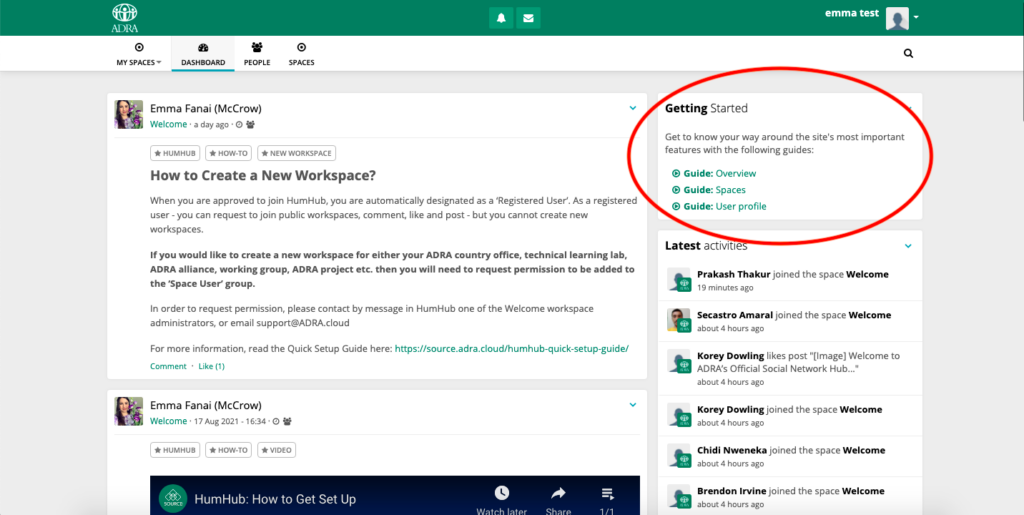
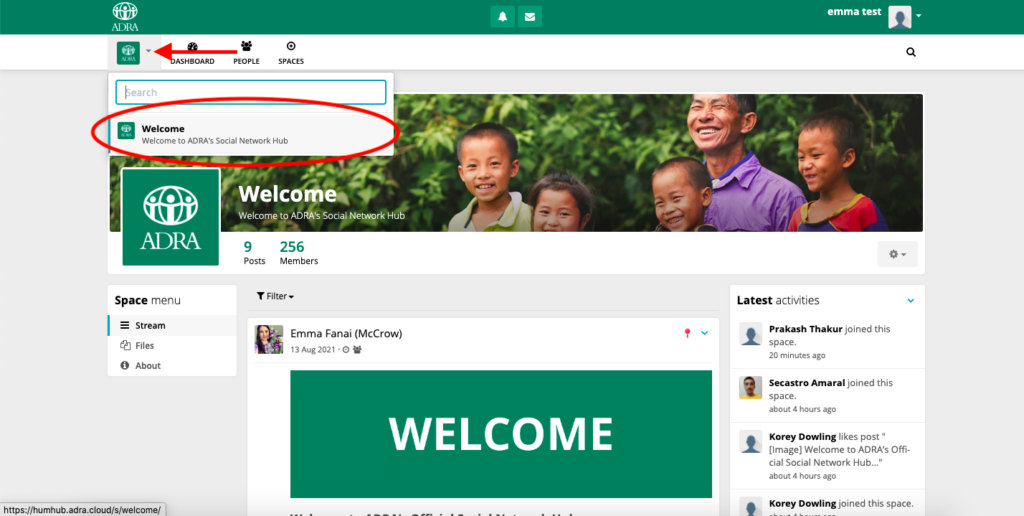
From the dashboard you can also view the ‘Welcome’ space which has some helpful links and information on navigating and using HumHub as well as images for your profile banner. Click on the arrow and select the ‘Welcome’ workspace to open it from the dropdown ‘My Spaces’ menu.
Note: The Welcome space is the only workspace all registered users have automatic membership to. You cannot post in this workspace, but you can like and comment.
Step Six: People and Joining Workspaces
You may view all registered user profiles by selecting ‘People’ in the top menu.
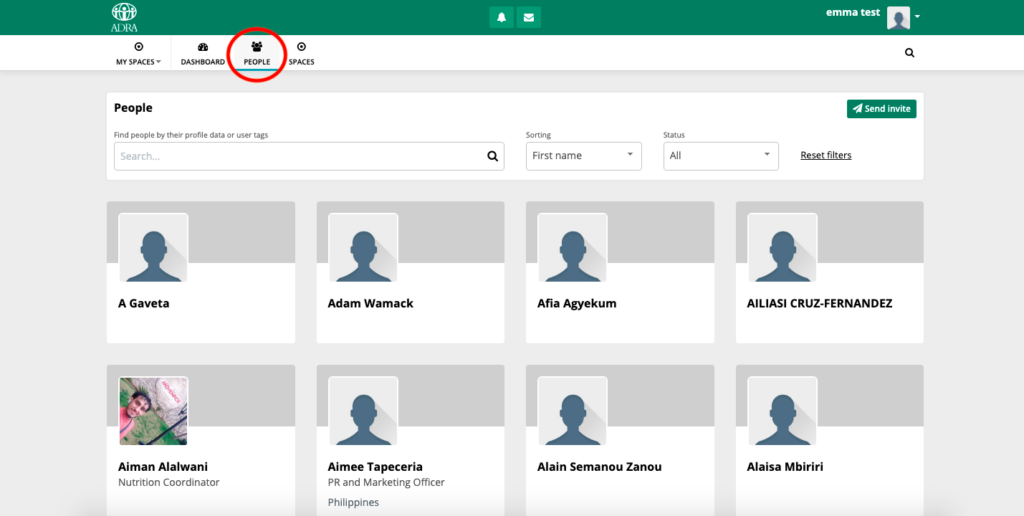
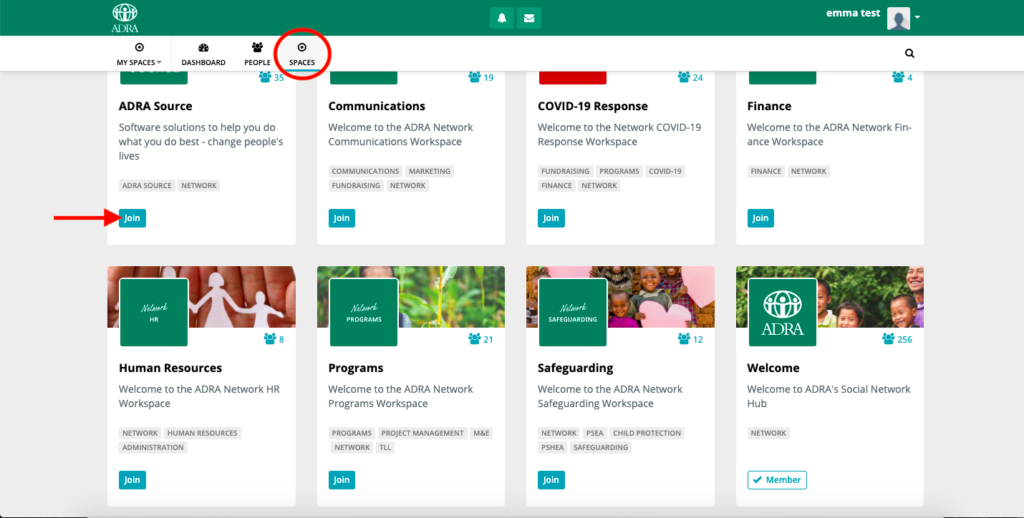
You may also join any public workspace by selecting ‘Spaces’ in the top menu and clicking ‘Join’ on the workspace that interests you. One of the administrators from that workspace will either approve or reject your request to join. If approved, you will get a notification and the workspace will automatically be added to your ‘My Spaces’ menu for easy access.
Note: Public workspaces are generally all the Network-level workspaces available such as Programs, Communications, Finance, ADRA Source etc. and are open to all staff from around the ADRA Network. There are also private workspaces which will not appear here. Private workspaces are invite only, meaning an administrator or member from that workspace will need to invite you to join. Private workspaces may include country offices, TTLs, regions or divisions etc.
Step Seven: Changing Profile and Notification Settings
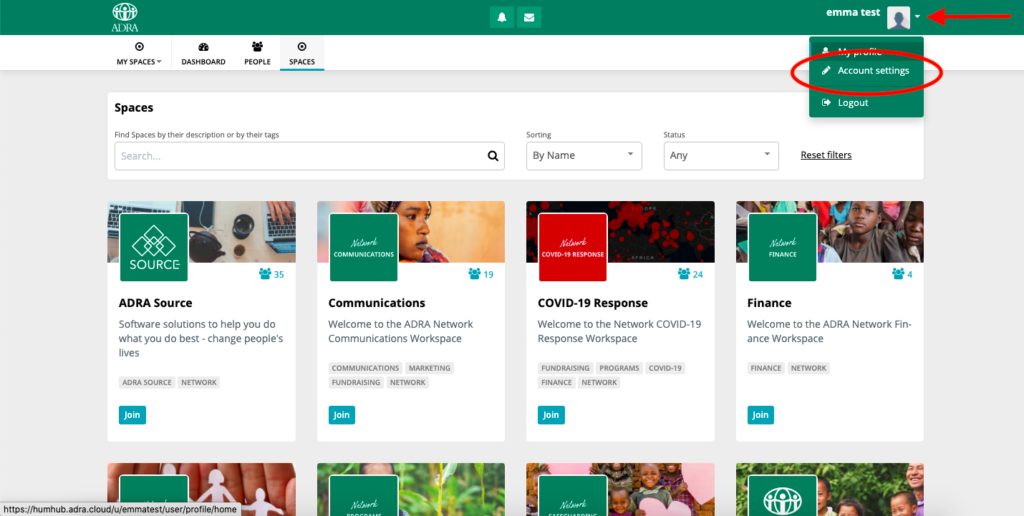
To edit your user profile, click on the arrow next to your name in the top right hand corner and select ‘Account Settings’. You will be taken to another screen straight into ‘Profile’ settings.
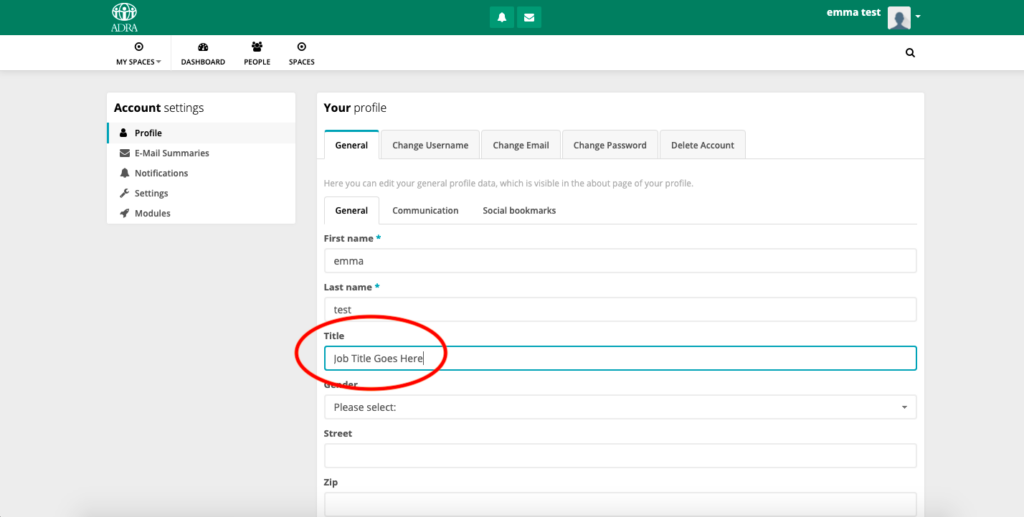
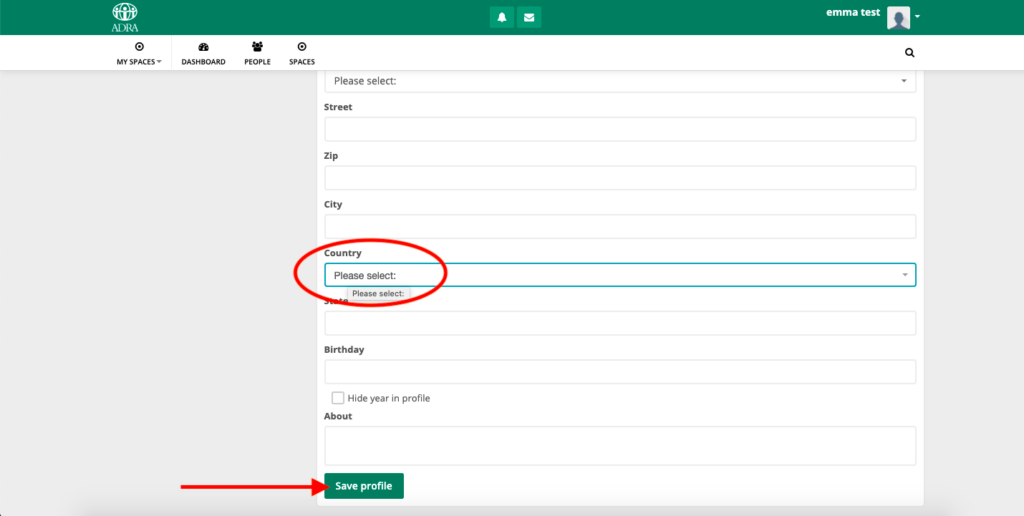
In your ‘Profile’ settings under ‘General’, it is recommended that you include your Job Title and Country so that other registered users know which country you are based in and your skill area. Once you have finished filling in your details, press ‘Save Profile’.
Note: Whatever information you fill in on your profile will be public. That means all registered users will be able to see it, but not anyone else.
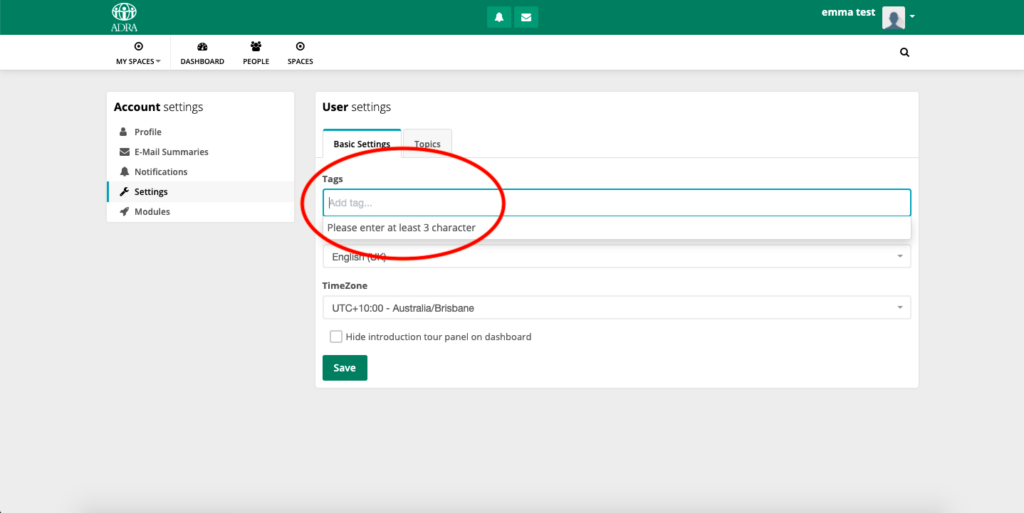
You may also include ‘Tags’. To find this, select ‘Settings’ in the left panel menu and click ‘Save’ once completed. These tags can be specific skillsets such as programs or communications, and the ADRA office/s you work for such as ADRA Austria or ADRA Somalia.
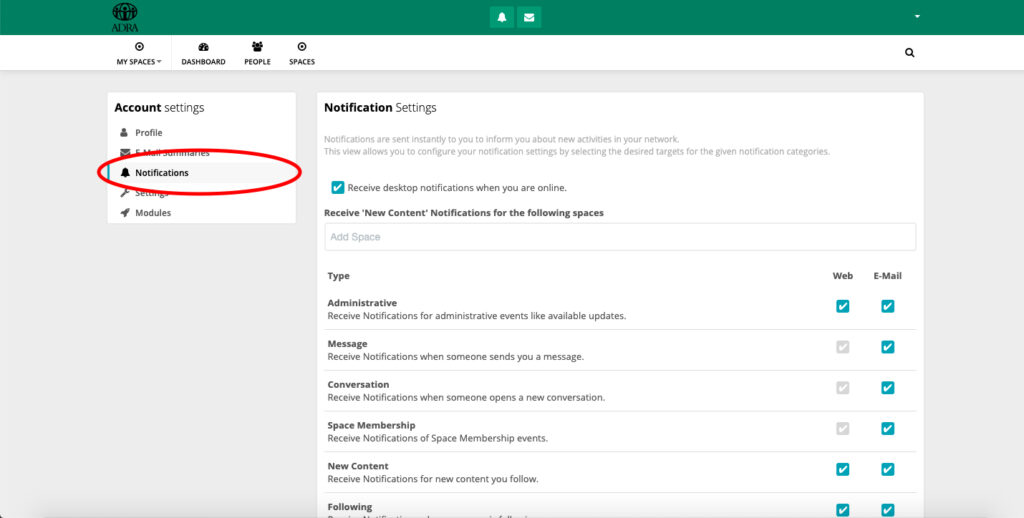
You can determine what notifications you receive by either selecting or deselecting any items that interest you. It is recommended that you do this so you don’t receive dozens of emails every time something new happens in HumHub.
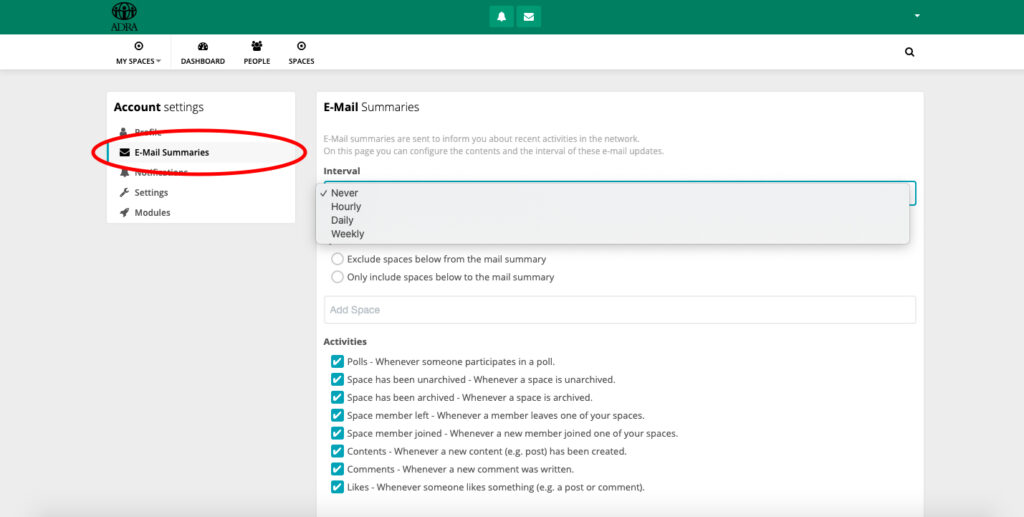
Finally you can also change any ‘Email Summaries’ you receive by adjusting the ‘Interval’ to Never, Hourly, Daily or Weekly. An email summary is a collection of all the notifications that occurred during a specific time period. It is recommended to change this to either ‘weekly’ or ‘never’ depending on your interest.
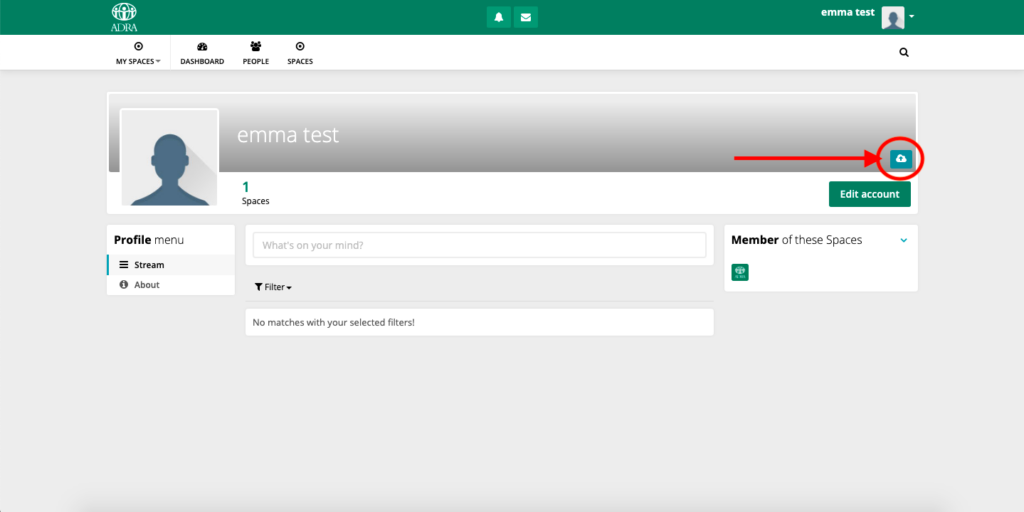
Step Eight: Editing Profile DP and Banner
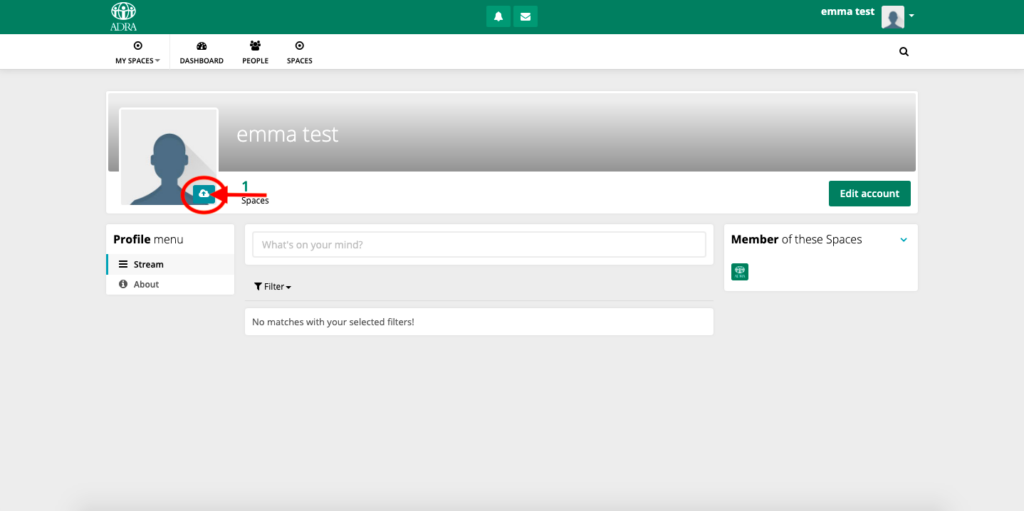
Navigate back to your profile and upload an appropriate dp (display picture) by clicking on the cloud icon that appears as you hover over the right hand corner. You may also adjust the image once uploaded. This is recommended so registered users know who you are.
You may also upload a banner image, again by hovering over the right hand corner to upload a file and adjust as needed.
Note: There are a selection of free stock images that you may use in ResourceSpace HERE
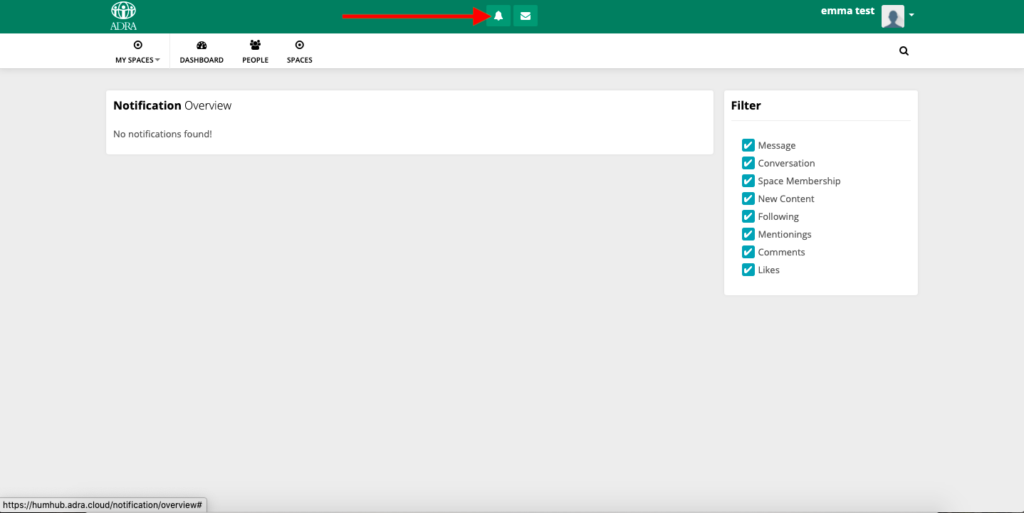
Step Nine: Viewing Notifications
All notifications will appear in the bell icon at the top of your screen. You can go through these notifications one by one or mark all as seen in the drop down menu as they appear.
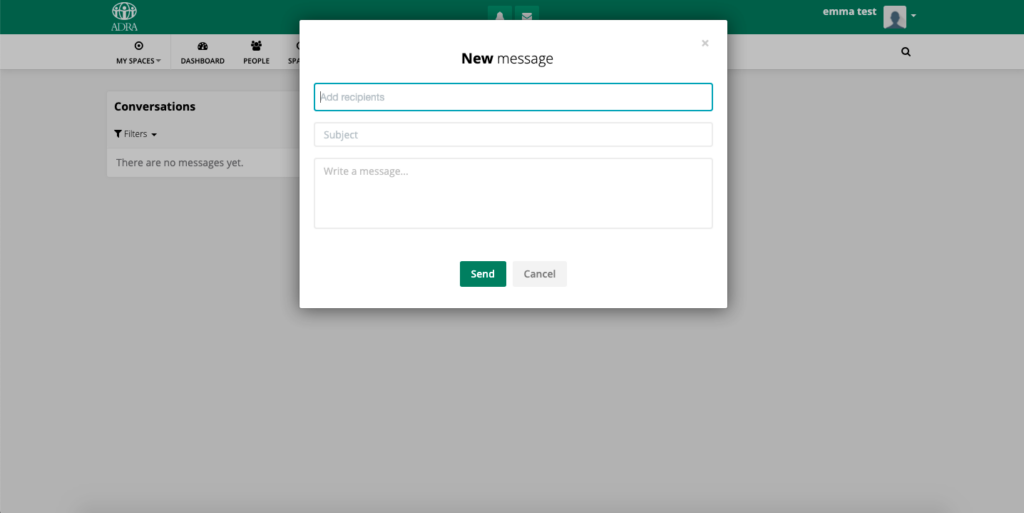
Step Ten: Private Messaging
You may private message any registered user, or selection of multiple users, by clicking on the mail icon in the top of the screen. To send a new message, just click on the blue ‘+Message’ button and fill out the details in the popup box.

NOTE: Security for your Peace of Mind
ADRA’s HumHub is hosted by ADRA. This means that only designated ADRA administrators in HumHub are verifying and approving registered users to have access to ADRA’s HumHub. Once in HumHub, each registered user will ONLY have access to the Welcome workspace.
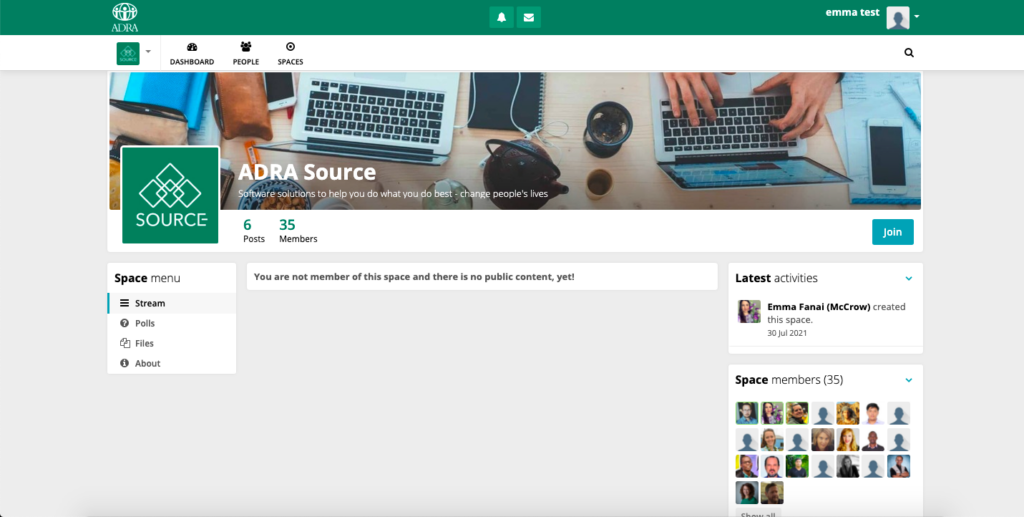
Until you are a member of a workspace, either by being invited or requesting to join – you will only be able to see the workspaces dp, banner, about information and members – you will not be able to see any posts or content shared as seen below. Of course if the workspace is ‘Private’ you won’t be able to see it at all.
You can rest assured that any content you post in a workspace will only be seen by members who are registered users like you!
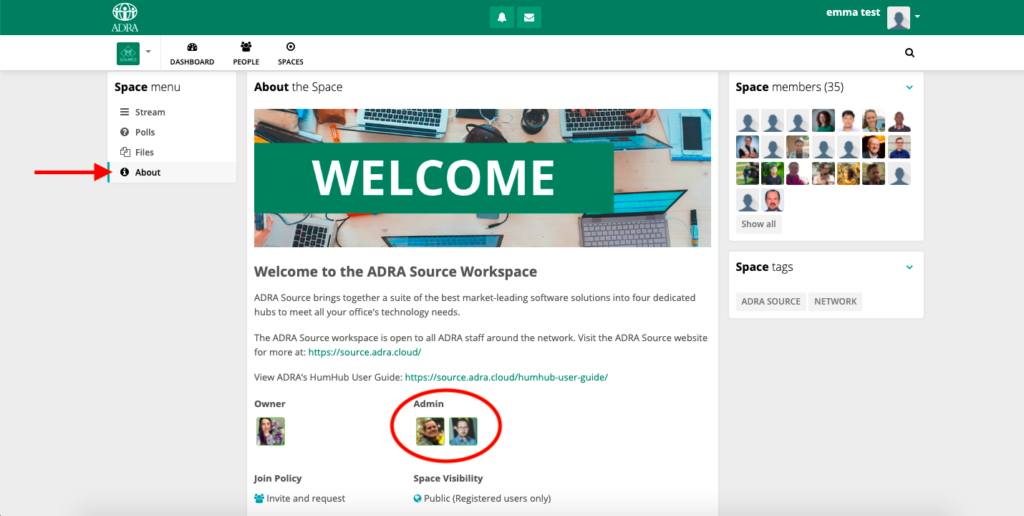
Contacting a Workspace Administrator
If you are having any issues using one of the workspaces, simply contact the Administrator or Owner for that specific workspace for assistance. To find the workspace administrator, open that particular workspace. Navigate to the left hand menu and select ‘About’ to find the Administrator/s to send a private message to.
If you do not receive a response, you may contact support@ADRA.cloud