Nextcloud Set Up
As part of the ADRA Source suite, Nextcloud provides a secure, fast and free replacement for cloud
storage services such as Google Drive and Drop Box.
Before setting up Nextcloud for your office, let’s take a look at the folder structure you will have access to through Nextcloud:
- Network Folder – for most users this is a read-only folder containing generic information for
the ADRA Network. - Regional Folder – similar to the above, this read-only folder will contain information specific
for your region. - Office Folder – this folder, and it’s sub-folders, will contain the documents need to be used
and stored by each department and project in your ADRA Office. User permissions can be
easily implemented to restrict access to specific sub-folders. - User Documents Folder – each staff member you have registered for Nextcloud will use this
folder to store all work documents. - ResourceSpace Folder – this folder is used to manage your office’s images and videos, which
will be automatically uploaded to Resource Space. - Back Up Folder – this folder is used for achieving documents that may no longer be used,
but need to be kept for a certain time period. The files will be stored on much cheaper
servers, but require a support ticket to restore if the need arrives. As such, this folder is not
for working files.
Step 1: Administrator Set Up
Hopefully you have already completed this step by contacting support@ADRA.cloud, have your
Nextcloud login details and provided all of your user details.
Step 2: Check and, if necessary add new users
As a Nextcloud administrator you can easily create new users to ensure every staff member who
needs it has access to the service.
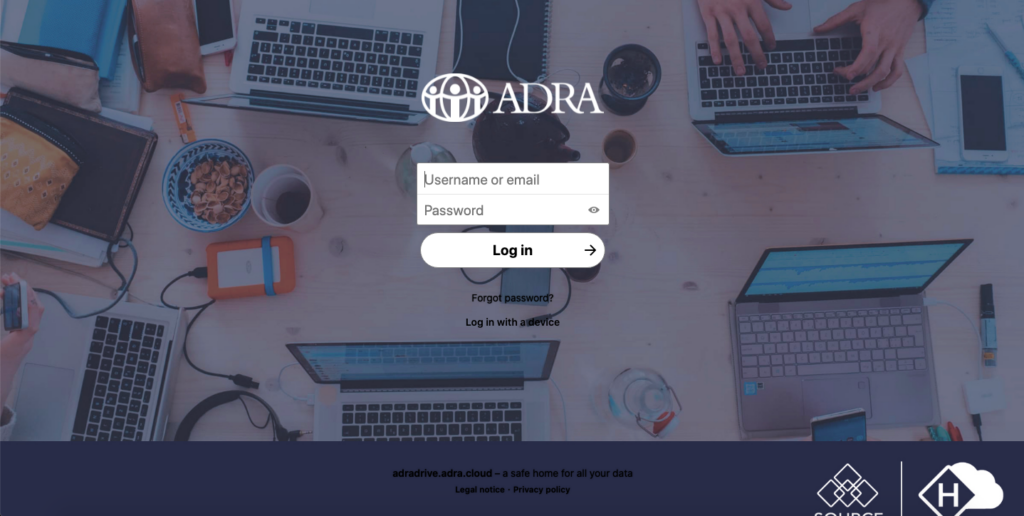
- If you haven’t already, login to the Nextcloud web interface at nextcloud.ADRA.cloud
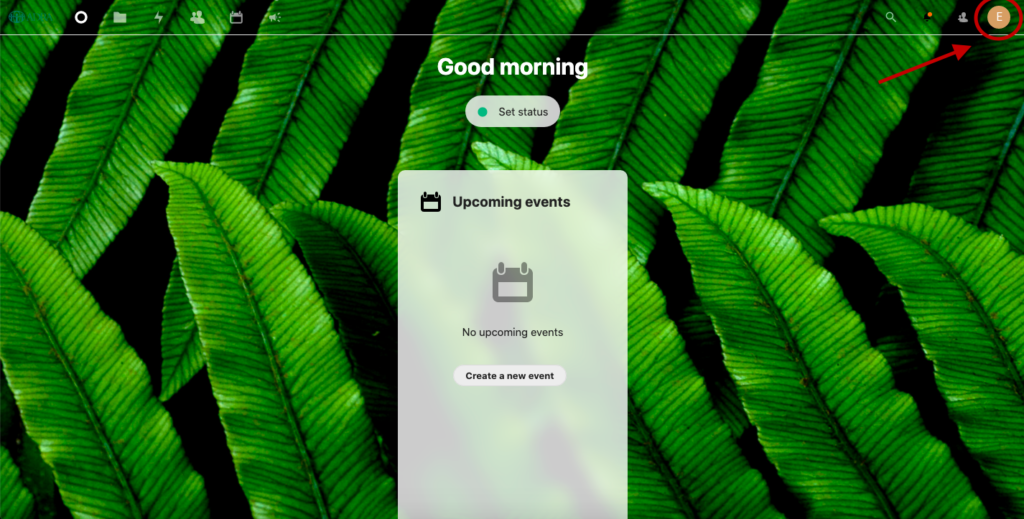
- Access your account services by clicking on your Initials.
- Then select ‘Users’ and then, ‘New Users’.
- Enter new user details:
o Username: Firstname.Lastname
o Enter a random password
o Add user’s email address
o Assign new user to group (such as Department) as necessary.
o The new user has now been added and will be sent an email to join Nextcloud
Step 3: Create your office folder structure
Before completing this step, be sure to have discussed the best structure for your office’s folders,
files and documents – this may include folders for each department for example.
Creating a detailed and accurate list of this structure will help you quickly complete this step and
make it easy for your office to get started on Nextcloud:
- Login to the Nextcloud web interface at nextcloud.ADRA.cloud
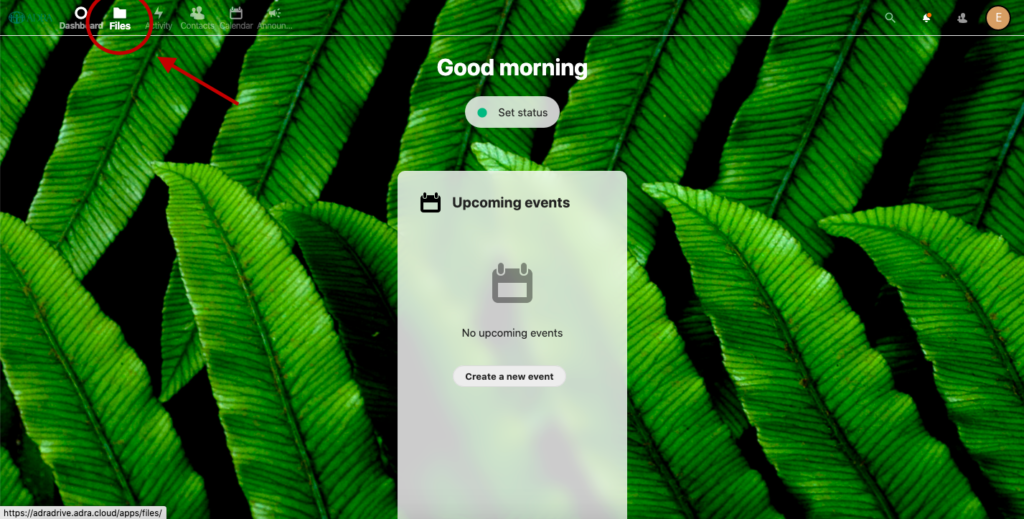
- Navigate to ‘Files’ and you will see the list of folders discussed above.
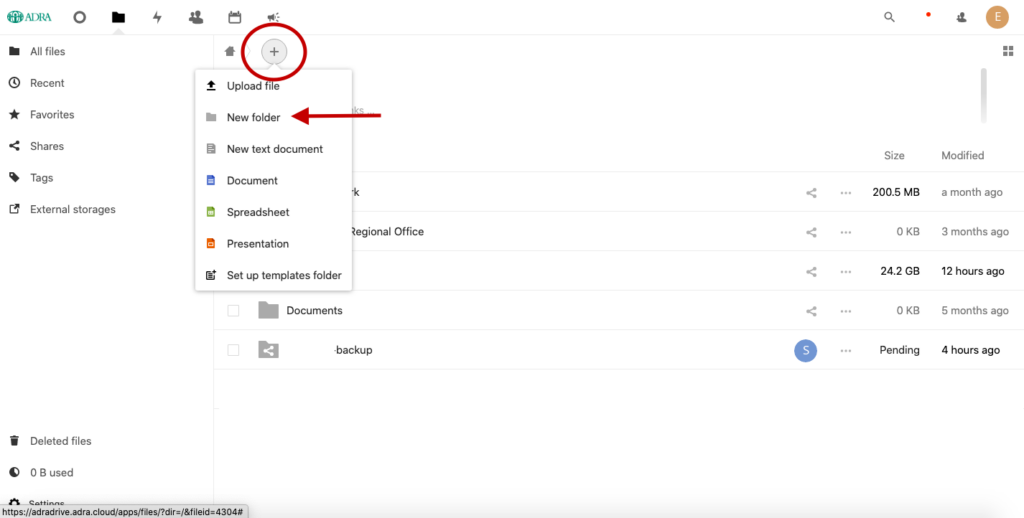
- Open your ‘Office Folder’ and Add new folders according to your agreed folder structure.
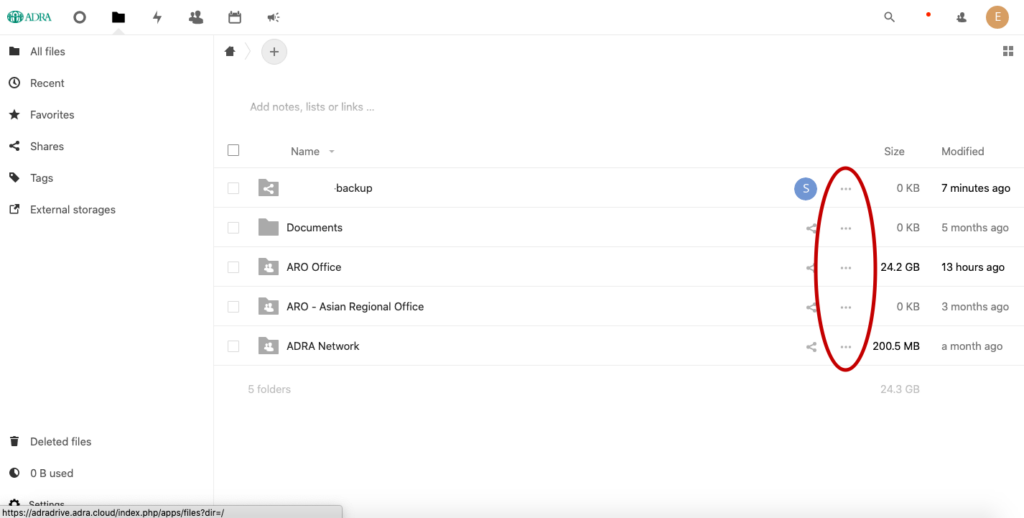
- Options to share and set permissions for each folder can be accessed by opening the ‘Double
Dot’ menu. You can add as many users as you like to each folder.
Step 4: Install the Nextcloud client on your computer
The biggest benefit of Nextcloud is the ability to have files stored in the cloud sync automatically
with users computers. Here’s how:
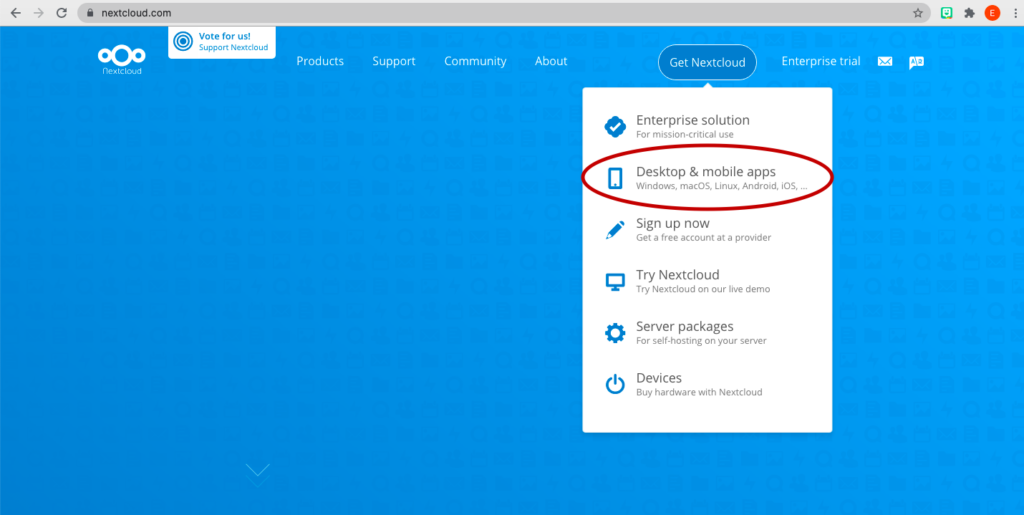
- Go to nextcloud.com, click ‘Get Nextcloud’, select Desktop and mobile and choose the
relevant client to download – either Windows, Mac, Linux or Mobile.
- Download and install the client file, after which you will be asked to restart your device.
- Once your device has rebooted you will find a Nextcloud icon on your desktop (it looks like
three connected O’s).

- Click on this icon to open the client and login.
- Enter your server details – nextcloud.ADRA.cloud
- When prompted return to the web portal, login and grant permission for the client on your
computer to access the server. - Now, you will be able to select which folder on your computer the files will be synchronised
to – it’s up to you to determine which folders you want, but typically you would choose for
just your User Documents Folder to stay on your computer. The other folders, including
Office, Regional or Network Files can always be accessed online as needed. - Once you have selected the appropriate folder the sync process will start and you will find a
local drive on your computer called Nextcloud. This drive will have all the synchronised folders
that you previously selected, and can be accessed through your normal file explorer. - If you save or update files to these folders while offline, the folders will sync as soon as you
re-connect (such as returning to the office) and push these files back up to your online
storage.
With every user in your office completing Step 4, you are now set up and ready to go with secure
cloud storage through Nextcloud – brought to you by ADRA Source.