Follow these steps to add your VaultWarden account to your existing Bitwarden web browser extension.
Note: This tutorial is for users who have already installed and are using the Bitwarden web browser extension. This tutorial is specifically depicting steps from a Chrome web browser and may differ slightly to other web browsers.
If you haven’t installed the Bitwarden web browser extension, follow this tutorial. Make sure you add the self-hosted server url as https://security.adra.cloud/ – this is ADRA’s VaultWarden.
Step by Step
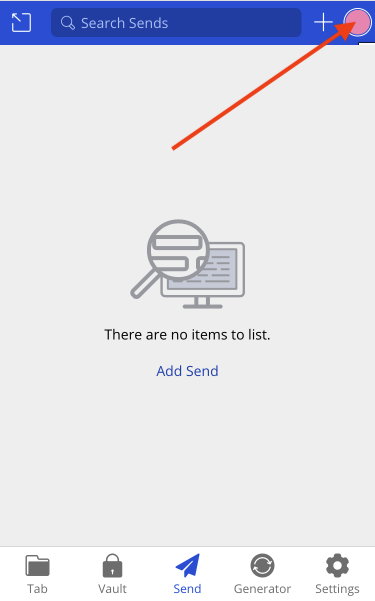
1. Open your Bitwarden browser extension. If you’re not logged in already, do so. Click on your initials in the top right hand corner.
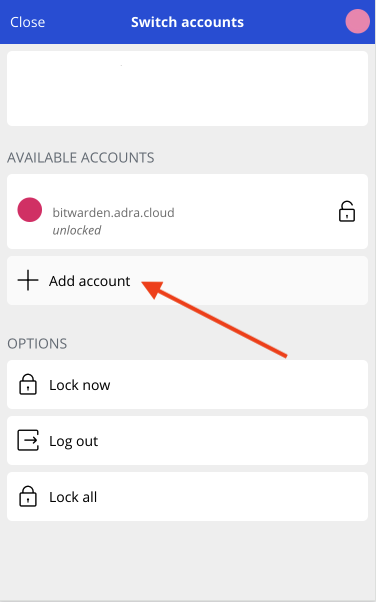
2. You will see the account you are already logged in with – most likely this is from the server bitwarden.adra.cloud if you were using ADRA’s Bitwarden (this will be decommissioned on May 15). Click ‘Add account‘.
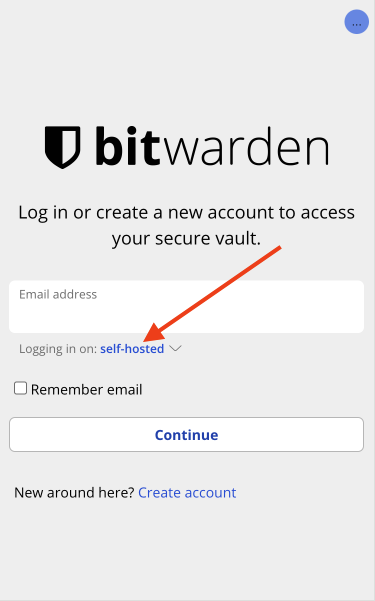
3. A log in screen will open. Click on the link ‘self-hosted‘.
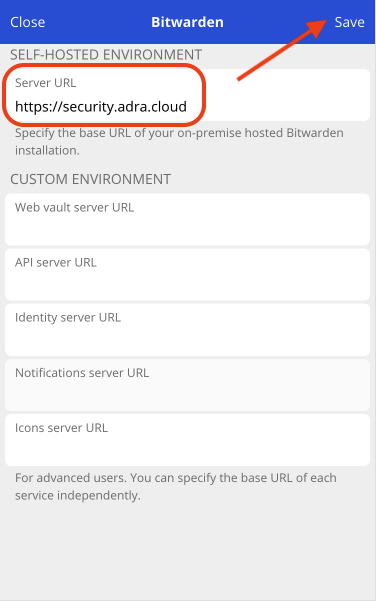
4. Under the SELF-HOSTED ENVIRONMENT, Server URL field, enter ADRA’s VaultWarden: https://security.adra.cloud/. Then click ‘Save‘.
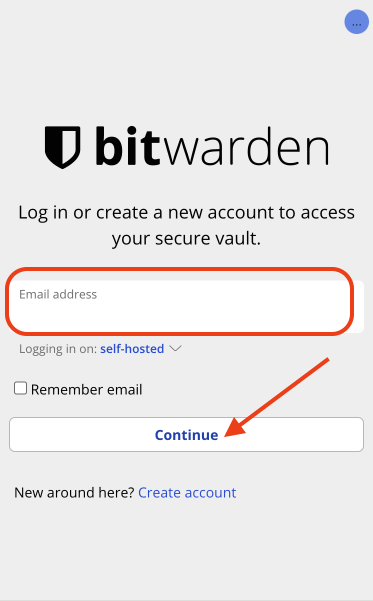
5. The server has now been added for ADRA’s VaultWarden and you will be taken back to the login screen. Enter your email address for your VaultWarden account and click ‘Continue‘.
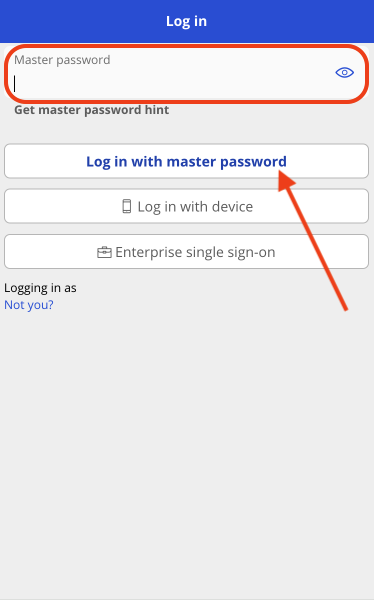
6. Add the master password for your ADRA VaultWarden account and click ‘Log in with master password‘.
7. You should now be successfully logged into your ADRA VaultWarden account and you should see your vault. You may continue to use this browser extension as normal. If you have not exported/imported your vault yet from your old account, follow this tutorial.
If you have any questions or concerns related to this process, reach out to our ADRA Source Support team to raise a ticket.